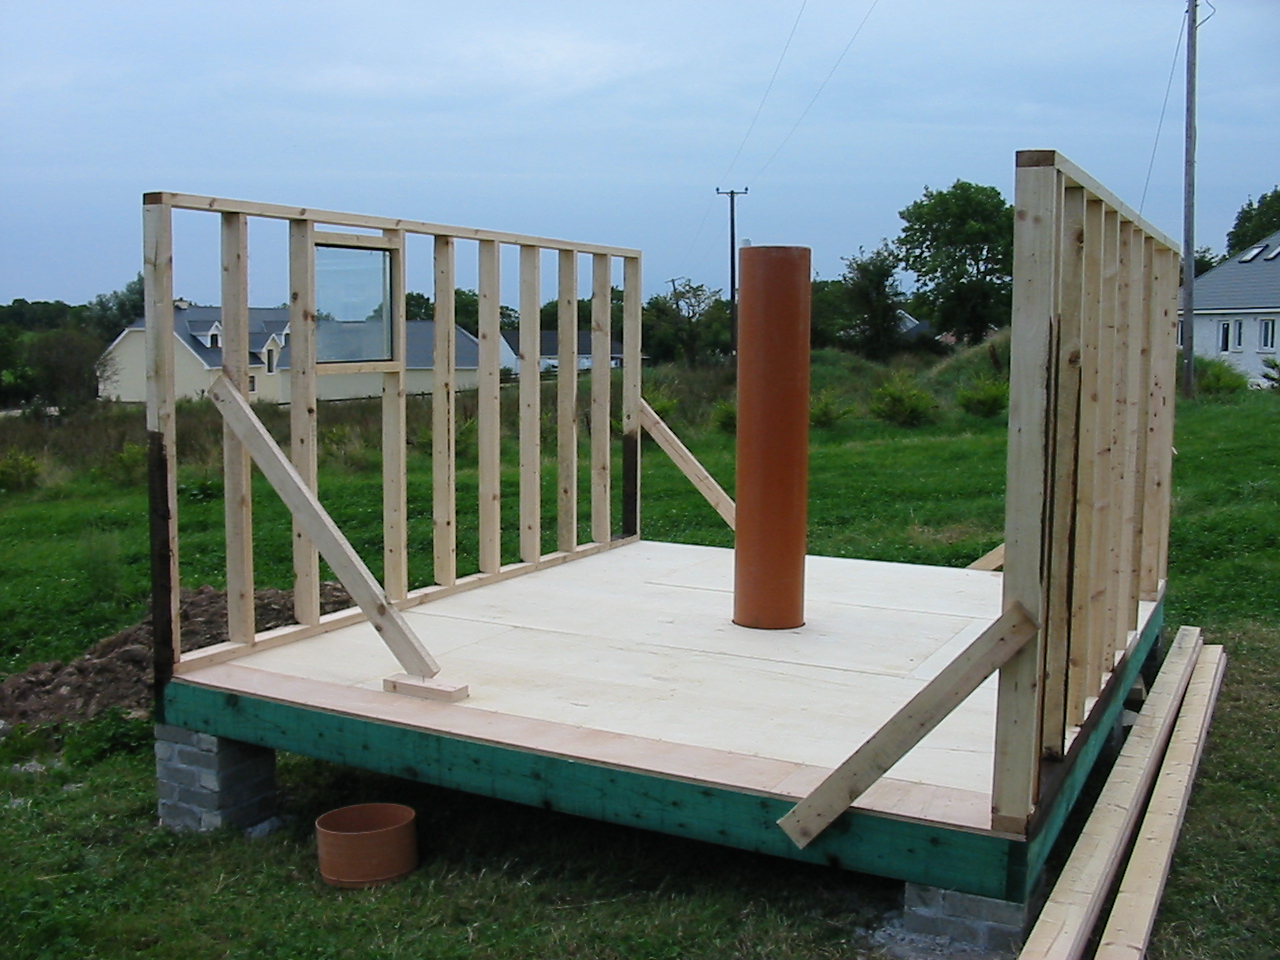
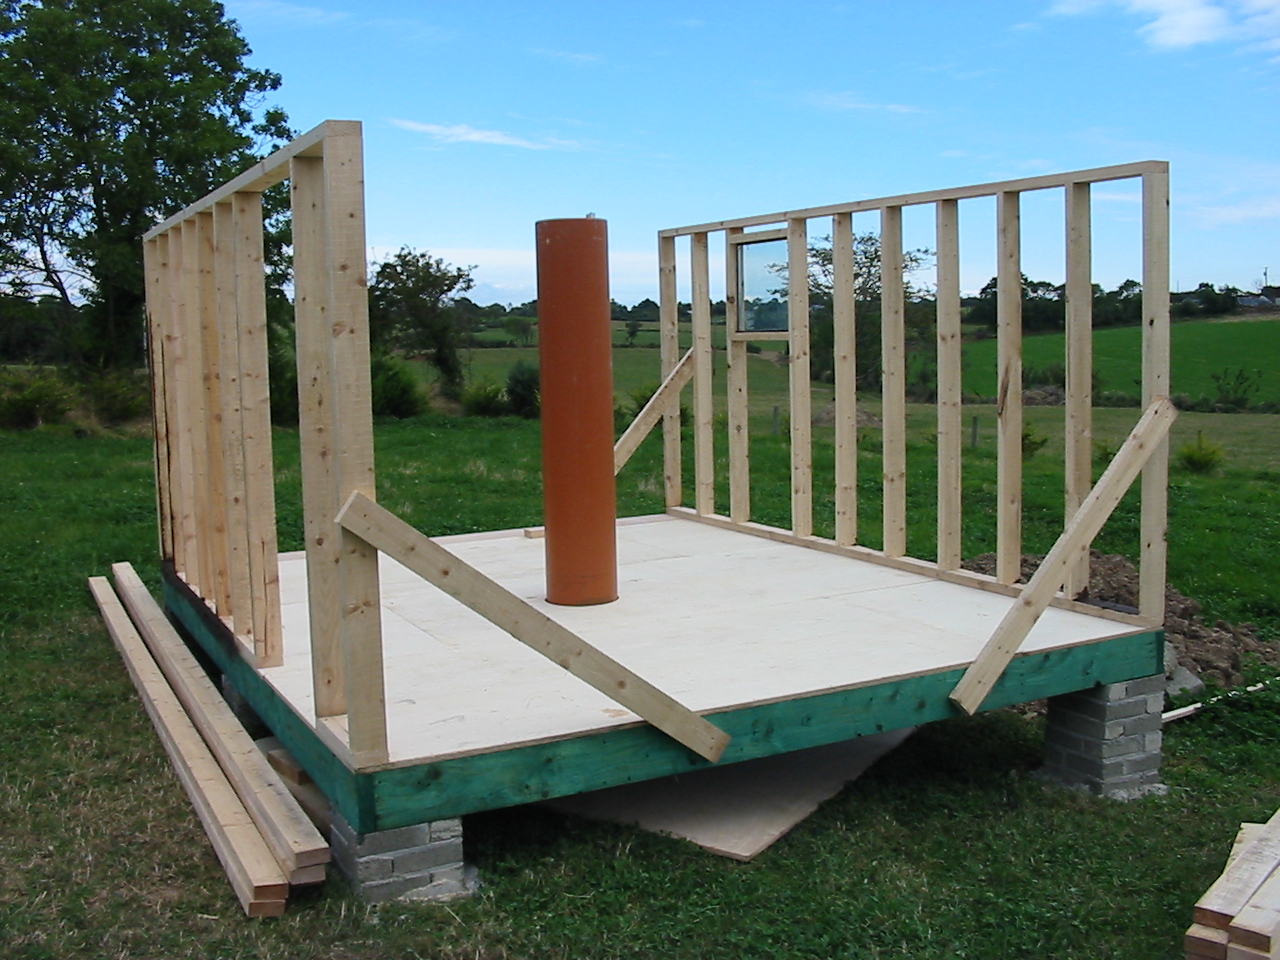
27 August 2003
Laid the floor and started on the wall construction. The flooring used is 4' by 8' 3/4" thick marine grade plywood, which we screwed to the floor joists. The hole for the pier is 1/2" oversize and was cut out with a jigsaw. Also erected the 2 long walls. These are constructed from 2" by 4" lumber which was again treated with wood preservative. The height of these walls are 5' 10" from the floor. Another 2" by 4" will be screwed to the top of these walls to form the final height of 6'. This top 2" by 4" will be screwed to the bottom one and will form the long run off rails for the roof. Using 2 2" by 4" screwed together instead of 1 4" by 4" will allow us to form the long length for the run off without needing a 24' long 4" by 4". Paddy had an old double glazed window which we used in the north eastern wall. The opening for the 3' wide door is on the south wall. A change I made from Chris's plans was to move the door a bit further from the corner of the building. This will avoid having a narrow wall on one side of the observatory. Also notice the tall tree in the background of the 2nd photo, this is due north where the roof will roll off to.
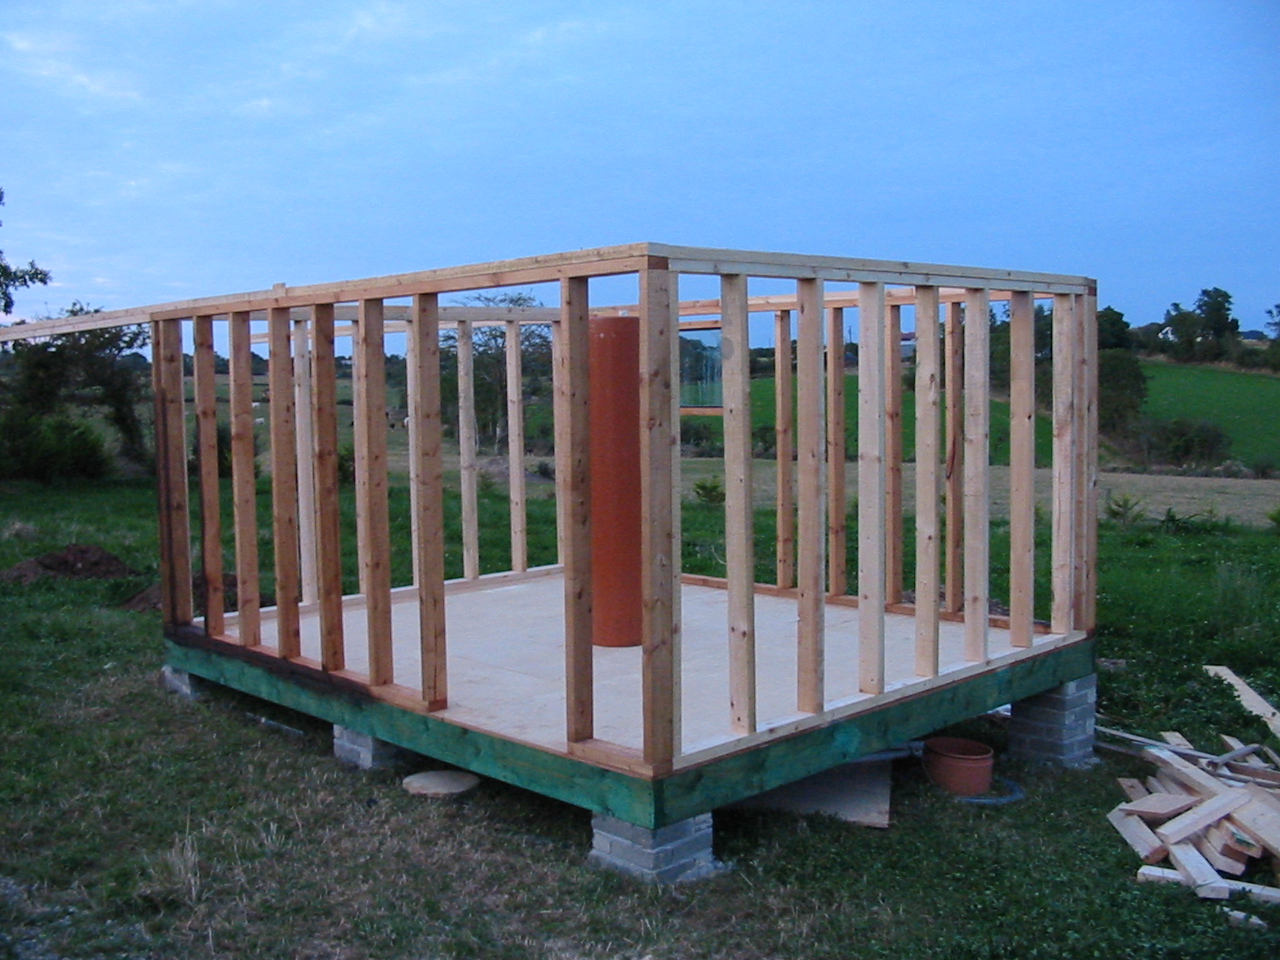
1 September 2003
Dug the 4 holes into which the roll off posts will be concreted. Also erected the 2 remaining walls and finished screwing down the plywood floor. Sorry for the darkness of the pictures, as these pictures were taken just after we finished work for the night!. Notice how the new walls are a bit brighter as I have not had a chance to apply wood preservative to these yet.

2 September 2003
Apply wood preservative to the remaining untreated surfaces of the observatory. Only one more coat to still apply!.
6 September 2003
Started on the cladding of the exterior with shiplap boards. Also concreted in the 4 posts to support the roll off roof. Also applied wood preservative to untreated surfaces.


12 September 2003
Completed the exterior cladding and installed the first 2 lengths of the iron track which the roof will roll off on. Also applied wood preservative to the remaining untreated surfaces. The second picture below shows a close-up of the roof details, namely 3 industrial grade double roller wheels which are held in the 2 3" X 2" ceiling joist using washers and nuts. The iron track is screwed into the top of the wall studs using 3" brass wood screws. Note that the top of the track has an inward flange on both sides which prevents the roof lifting off when it is in place. This is different than the angle iron approach used in Chris's plans. The iron and wheels were not cheap (c. €600) but hopefully they should prove themselves cost effective in the long run.

